
If you’re like many Canadians juggling work, gaming, and endless photos of weekend adventures, you’ve probably noticed your computer slowing down over time. Upgrading to a solid-state drive (SSD) is one of the smartest, most cost-effective ways to breathe new life into your system. But there’s one catch: transferring all your data seamlessly.
Good news — you don’t need to be a tech wizard to clone your old drive to a new SSD. With the right tools and a few expert tips, you can make the transition smoothly and keep all your files, apps, and settings exactly as they were. Let’s walk you through it, step by step.
Why Clone Instead of Reinstall?
While doing a fresh installation of your operating system is an option, cloning saves you hours of reinstalling software, reconfiguring settings, and hunting down old passwords. By cloning, you get a perfect snapshot of your old drive — just faster and more reliable thanks to SSD technology.
Drives like the UGREEN M.2 NVMe Enclosure or the ICY BOX M.2 NVMe & SATA Docking Station make this process easier than ever, supporting high-speed connections and offline cloning without extra headaches.
Step 1: Choose Your New SSD
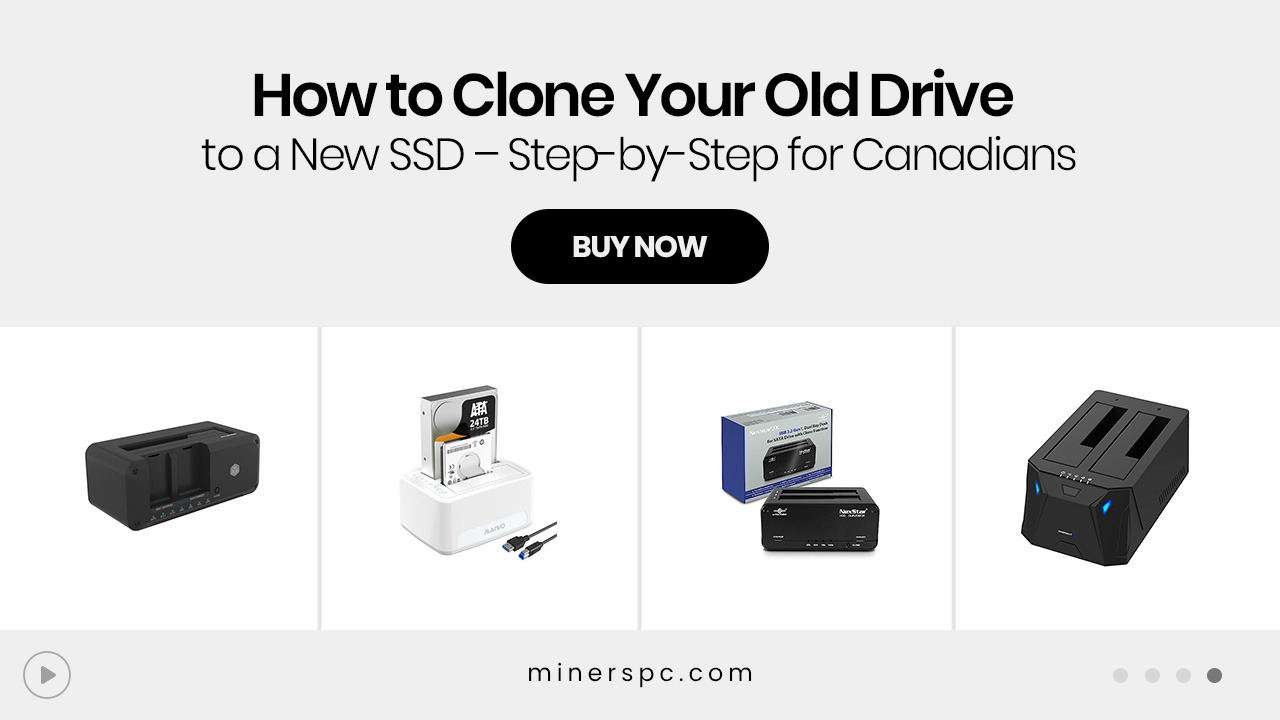
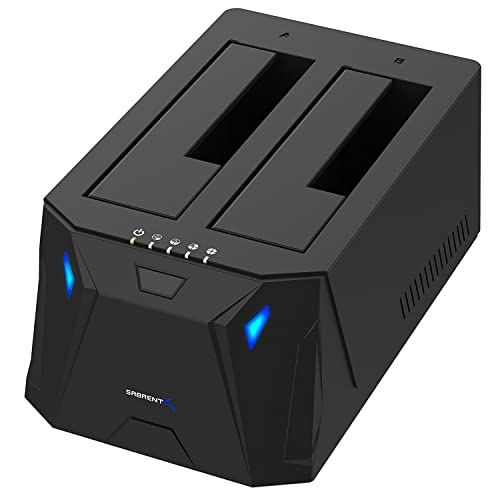
Your first step is picking the right SSD. Look for high-quality options that offer a good balance of speed and reliability. For example, the FIDECO M.2 NVMe SATA SSD Cloner Dock and the SABRENT Dual Bay Hard Drive Docking Station support a wide range of SSD sizes and types, making them excellent for future-proofing.
If you’re going NVMe, consider a fast enclosure like the UGREEN M.2 NVMe Enclosure, which allows you to turn your new SSD into a supercharged external drive later on.
Step 2: Back Up Your Data
Even though cloning is generally safe, it’s always smart to back up your files before making changes. Save your most important documents and photos to an external drive or cloud storage. Think of it like bringing an umbrella on a cloudy Vancouver day — better safe than sorry.
Step 3: Connect Your New SSD
This is where your chosen dock or enclosure shines. The GRAUGEAR Docking Station and ORICO External Dock make connecting both your old and new drives a breeze, thanks to tool-free designs and support for both 2.5″ and 3.5″ drives.
Insert your new SSD into the dock and connect it to your computer. These docks support USB 3.2 Gen 2, ensuring high-speed transfers and minimal downtime.
Step 4: Start Cloning
Once your drives are connected, you can use built-in offline cloning features found in many docks — like the MAIWO 2 Bay Hard Drive Docking Station — or software solutions if you prefer more control.
For offline cloning, press the designated “clone” button on your dock. The process is hands-off and usually indicated by LED progress lights.
For software-based cloning, programs such as Macrium Reflect or Clonezilla allow you to choose partitions manually. Just make sure to select the correct source and target drives to avoid overwriting the wrong disk.
Step 5: Install Your New SSD
After cloning, it’s time to install the SSD inside your system. Power off your computer, open the case, and swap the old drive with the new one.
If you used an external enclosure like the Wavlink Hard Drive Docking Station, you’ll appreciate how easy it is to remove the SSD and slide it into your machine.
Step 6: Boot and Verify
Restart your computer and enter the BIOS or UEFI settings to ensure the new SSD is set as the primary boot device. Once Windows or macOS starts, double-check that your data, applications, and configurations are intact.
You’ll immediately notice the speed improvement — apps open almost instantly, boot times shrink dramatically, and large file transfers feel effortless.
Expert Tip: Keep the Old Drive as a Backup
Rather than tossing your old drive into a drawer, consider keeping it as a secondary backup. With a dock like the MAIWO 4 Bay Docking Station, you can keep multiple older drives connected and easily accessible for additional storage or backups.
Personal Perspective: The Upgrade That Pays for Itself
I remember helping a friend in Calgary swap their decade-old HDD for a sleek NVMe SSD using a NexStar JX Dual Bay Dock. The difference was like trading in a clunky old pickup for a brand-new electric car. Apps that once took minutes to load now popped open in seconds, and overall productivity skyrocketed.
Beyond the raw speed, there’s a certain satisfaction in giving an aging machine new life rather than replacing it altogether — a win for your wallet and for sustainability.
Final Thoughts
Cloning your old drive to a new SSD might sound intimidating, but with the right tools and guidance, it’s an empowering project any Canadian can tackle. Whether you’re a gamer looking to cut load times, a photographer managing massive libraries, or someone who just wants a snappier experience, upgrading to an SSD is one of the smartest moves you can make today.
Looking for the perfect pick? Explore the top recommendations below while they’re still available – these won’t stay in stock for long.


![Best Prebuilt PCs in Canada for Work, School & Gaming [2025 Guide]](https://www.minerspc.com/wp-content/uploads/2025/07/best-prebuilt-pcs-in-canada-for-work-school-gaming-2025-guide-260x140.jpg)